


Contents
How to Make a Facebook Post Shareable

To make a Facebook post shareable, you must first determine the audience. Then, you need to change the audience of the post to “Public.” Among the options available to you are Friends Except and Specific Friends. This allows you to choose specific friends of friends. In order to change the audience of a post, you must change its default setting to “Public.” Alternatively, you can block an individual from viewing your post. Each platform has a different method for editing privacy settings.
Creating a custom list of your Close Friends
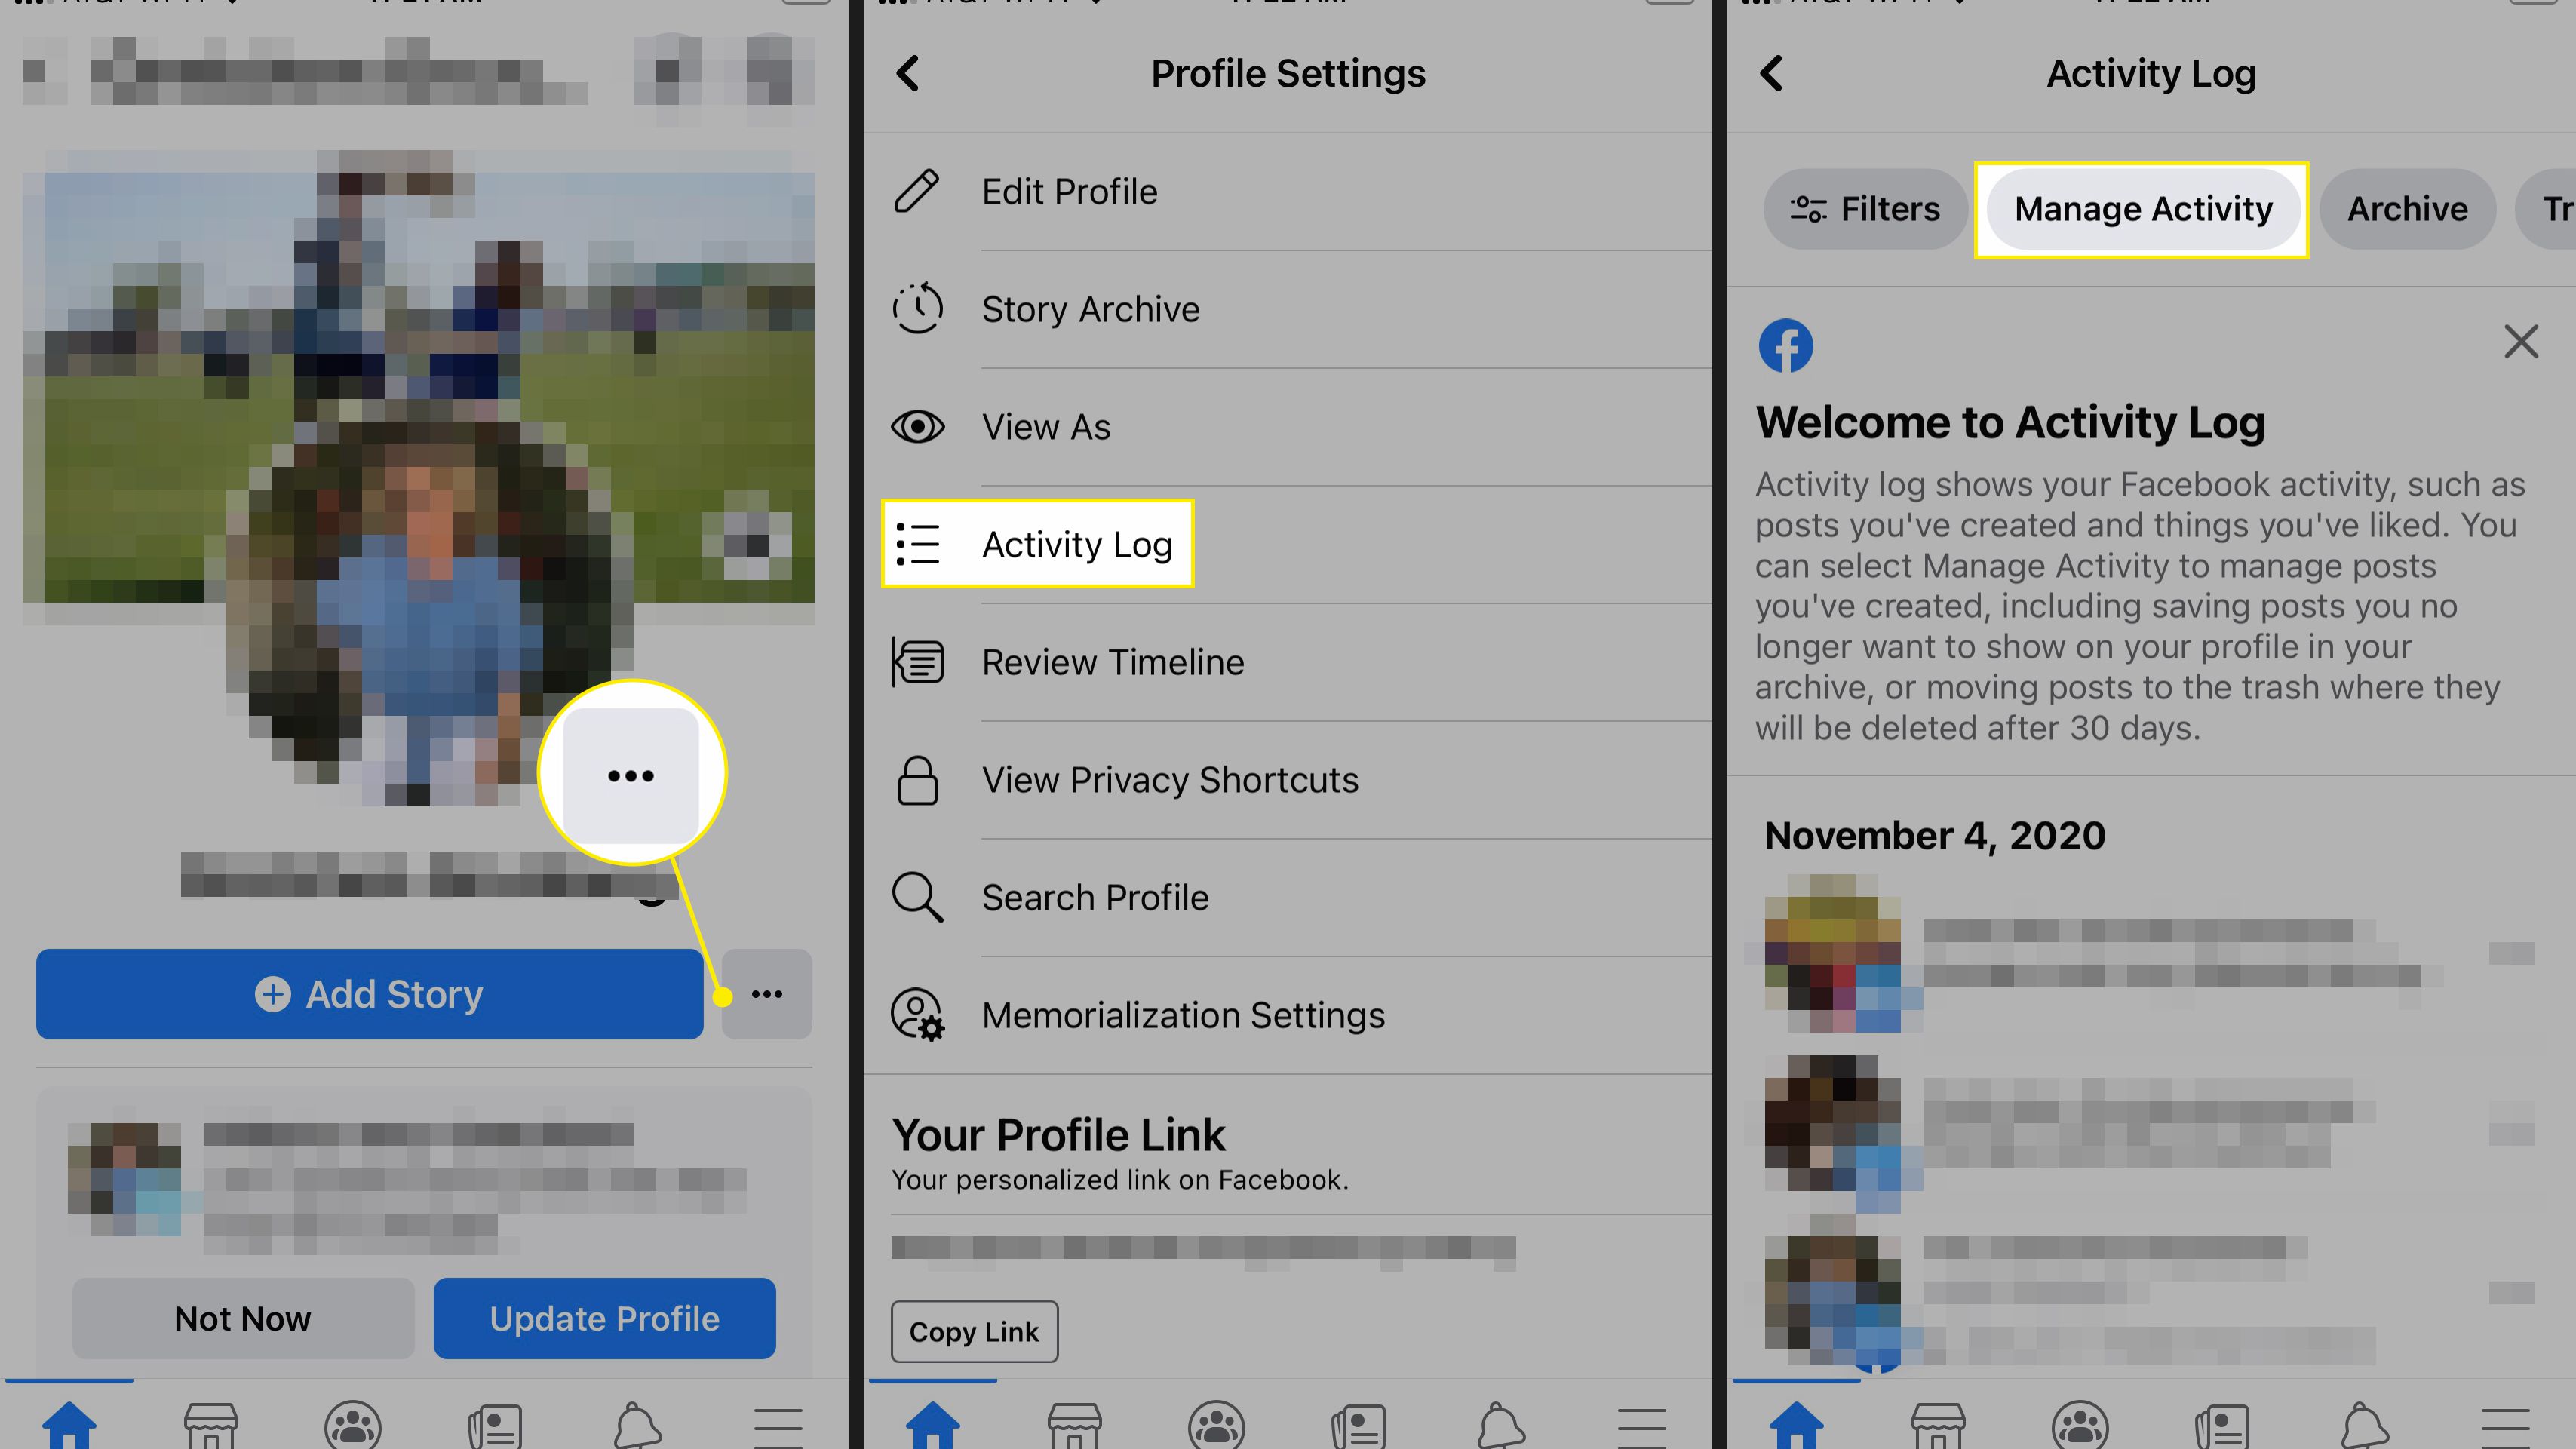
If you have a lot of friends on Facebook, you may want to create a custom list of those people. This will make it easier for you to see the people who are closest to you. Once you have a list, you can contact people directly through Facebook. To do this, you will need to sign into your account. See the article : What is the Difference Between Active Now and the Green Light on Facebook?. Then, go to your profile and tap on the three lines on the upper left corner. Once you’re in this screen, click the “+” button. Creating a custom list of your Close Friends is simple and can be done quickly and easily.
After creating your list, you can rename it as well as delete any unwanted friends. To rename a list, simply type in the name of the person to be removed and tap on the X button. The list will update automatically. You can create as many lists as you want, depending on what type of friends you have. Close friends and acquaintances lists have the same options, but a custom list will contain only the people you want.
To create a custom list of your Close Friends on a Facebook page, you can use the “People” tab. Once you’ve created a list, you can choose which friends you want to share updates with. You can create separate lists for close friends, business contacts, and acquaintances. If you’d like to share more information with your Close Friends, you can use the Audience Selector.
Changing the shareable status of all future Facebook posts
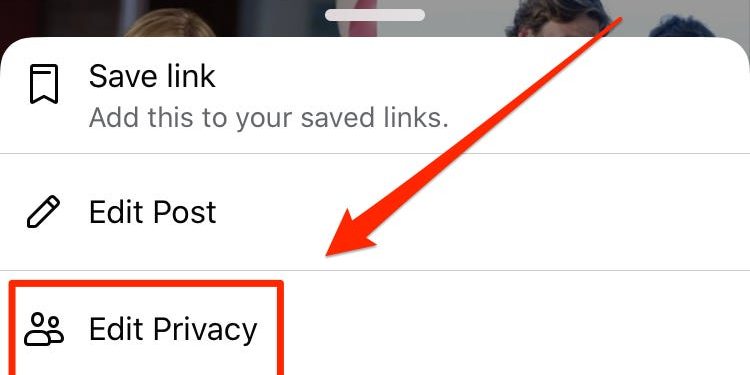
The first step in changing the shareable status of your future Facebook posts is to find the post you’d like to make public. Click the three dots in the upper right corner of your profile, then tap “Public” or any other relevant option. This may interest you : How to Create Facebook Account For Business. Once this is done, you should see a share button on your selected posts. Alternatively, you can choose to make your posts private or shareable to anyone you wish.
While you’re at it, don’t forget to make sure that your audience is set to “friends” instead of public. Facebook allows you to choose who can see your posts, but you can also change this setting to hide them from the boss. After making this change, click the “save” button and your new shareable status will be the default. This setting applies to all future Facebook posts.
Limiting the number of people who can view your past posts on Facebook is a simple way to restrict your content. This feature allows you to restrict access to posts made before the privacy setting was implemented. However, if you want to limit your future posts to only friends, you’ll have to make each one individual, one-by-one change. You can change this setting on the web interface or in the mobile app using privacy shortcuts.


