


Contents
How Do I Cancel Facebook Delete?

If you’ve decided to delete your Facebook account, you may wonder how to go about doing so. This article will explain how to Temporarily deactivate or reactivate your account, as well as deleting specific parts of your Facebook content. Here are a few tips to help you decide how to proceed:
Cancel deletion of Facebook account
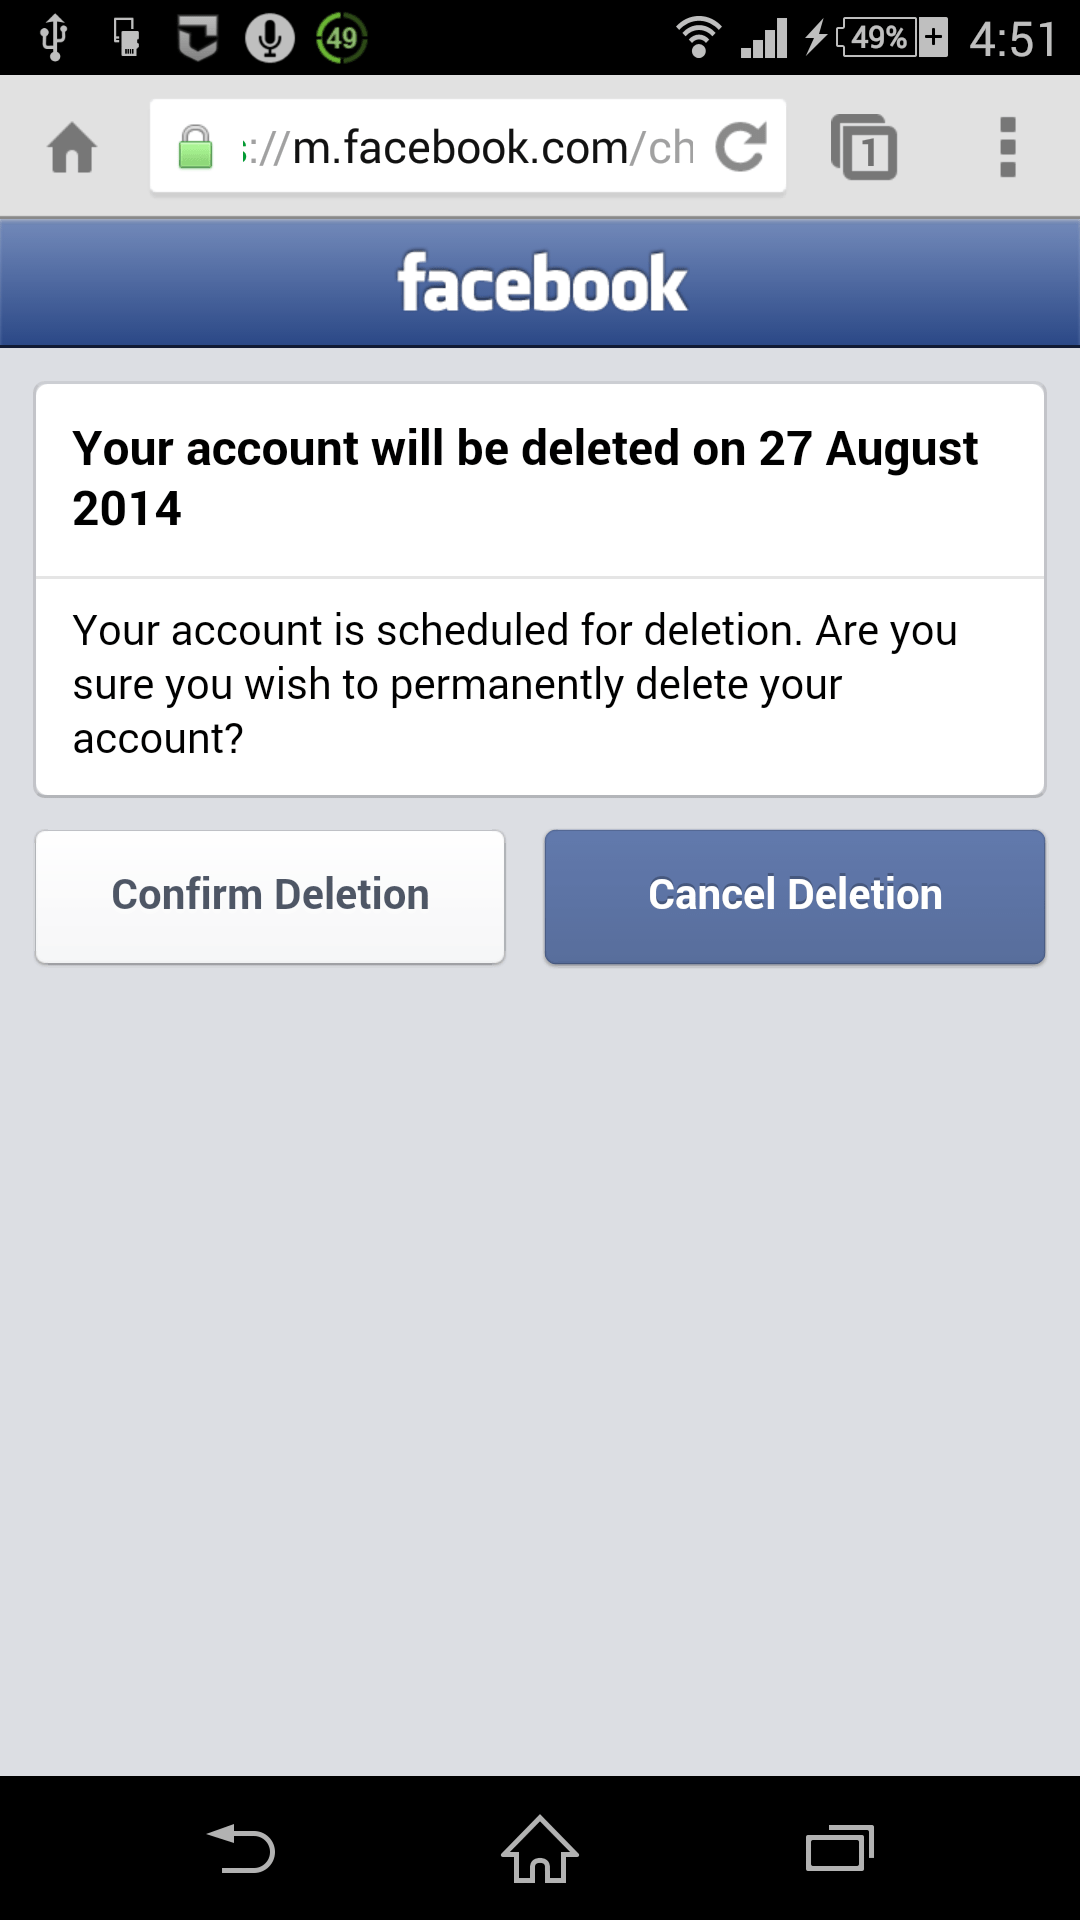
Cancel deletion of Facebook account: You may want to keep your Facebook account if you’ve decided to delete it. Facebook allows you to cancel the deletion process within thirty days of the deletion. After that, deleted information is permanently gone. To see also : How Do I Change My Sharing Settings on Facebook?. However, some information may be kept in backup servers for legal reasons. So, you might want to consider downloading a copy of your information before you delete it. If you do decide to delete your account, you should make sure to follow these tips.
Sign in to your Facebook account and navigate to Settings. Choose “Manage Your Account.” Click “Deactivate Your Account.” You’ll be prompted to explain why you want to deactivate your account. If you’d like to cancel the deactivation, click on the link that says “Cancel Deactivation” and follow the instructions. Then, you’ll be asked to confirm your decision. When you’re done, you can then sign in to Facebook and proceed normally.

Temporarily deactivate a Facebook account
If you have accidentally deleted your Facebook account, there are a few ways to reactivate it. Facebook will recreate your account after one to seven days, but you can choose the exact number of days to wait before it reactivates. On the same subject : How to Delete a Facebook Business Page. You can also choose to opt out of Facebook emails and notifications. If you’d like to keep the account, you can reactivate it whenever you want.
If you’re going to cut back on your Facebook usage, you’ll likely find that your notifications start piling up. You might end up receiving embarrassing tags, and people might think you’re ignoring them on purpose. You’ll also be losing connections and friendships you’ve built over time. A simple way to temporarily deactivate your Facebook account is by using a “super-logoff” method.

Reactivate a deactivated Facebook account
In case you are wondering how to reactivate a deactivated Facebook account, don’t worry. It’s not difficult at all. All you need is a few minutes to follow a simple tutorial. Read also : How Can I Log Into Facebook Without a Password?. After you have read the tutorial, reactivating a Facebook account is as simple as logging in with your old email and password. You can even go as far as reactivating your account to restore your privacy.
First, you can submit a complaint. This way, Facebook will review your case and respond within 24 hours. If they find your account to be legitimate, they’ll send you an email stating the status of your account. If you don’t receive an email, you can try contacting Facebook support by phone. Alternatively, you can visit Facebook customer support and ask them to reactivate your account.

Delete specific parts of your Facebook content
If you want to delete specific parts of your Facebook content, you can do so in bulk. However, this feature is only available on the Facebook app. If you want to delete an entire post, you must first choose to archive or restore the content. To do this, open your Facebook mobile app and select the menu button. Then, select Profile Settings. Scroll down to the Activity Log section. On the next page, select Manage Your Posts. From here, you can select the content you wish to archive or delete.
From here, you can choose to delete all posts or just a few of them. There are also options to delete your search history. To delete specific posts, select the checkbox next to the category. You can delete photos, videos, notes, and polls. You can also delete entire albums and collections. There are other options too, including deleting specific posts by month or year. Just be sure to backup your account first before you delete any data on Facebook.


