


Contents
How to Create Group on Facebook

To start a group on Facebook, first select a topic. This can be anything, from a common interest to a particular hobby. Next, select a name for the group, including relevant keywords and a privacy setting if desired. You can change the privacy settings at a later time. Make sure to choose the appropriate setting when creating a group so that you can control access to the group. Moreover, you should invite people to the group.
Guide
If you’ve never set up a Facebook group before, here’s a quick guide. Just as with creating a personal profile, you can choose the name of your group and configure it. For the group name, make sure you include relevant keywords. On the same subject : How to Download a Facebook Video. You can also include a cover image for it. You can change your group’s privacy settings later. Once your group has been created, you can share it with members, invite them to join, and set rules for their activities.
After setting up your group, you’ll need to add a description, promote the group, and create a pinned post. A pinned post is a regular post that the group administrator fixes to the top of the group page. Make sure the members of your group share your common interests. You can use polls to get feedback from users. To make the most of your group, you should also be aware of the proper way to get in and out of it.

Steps
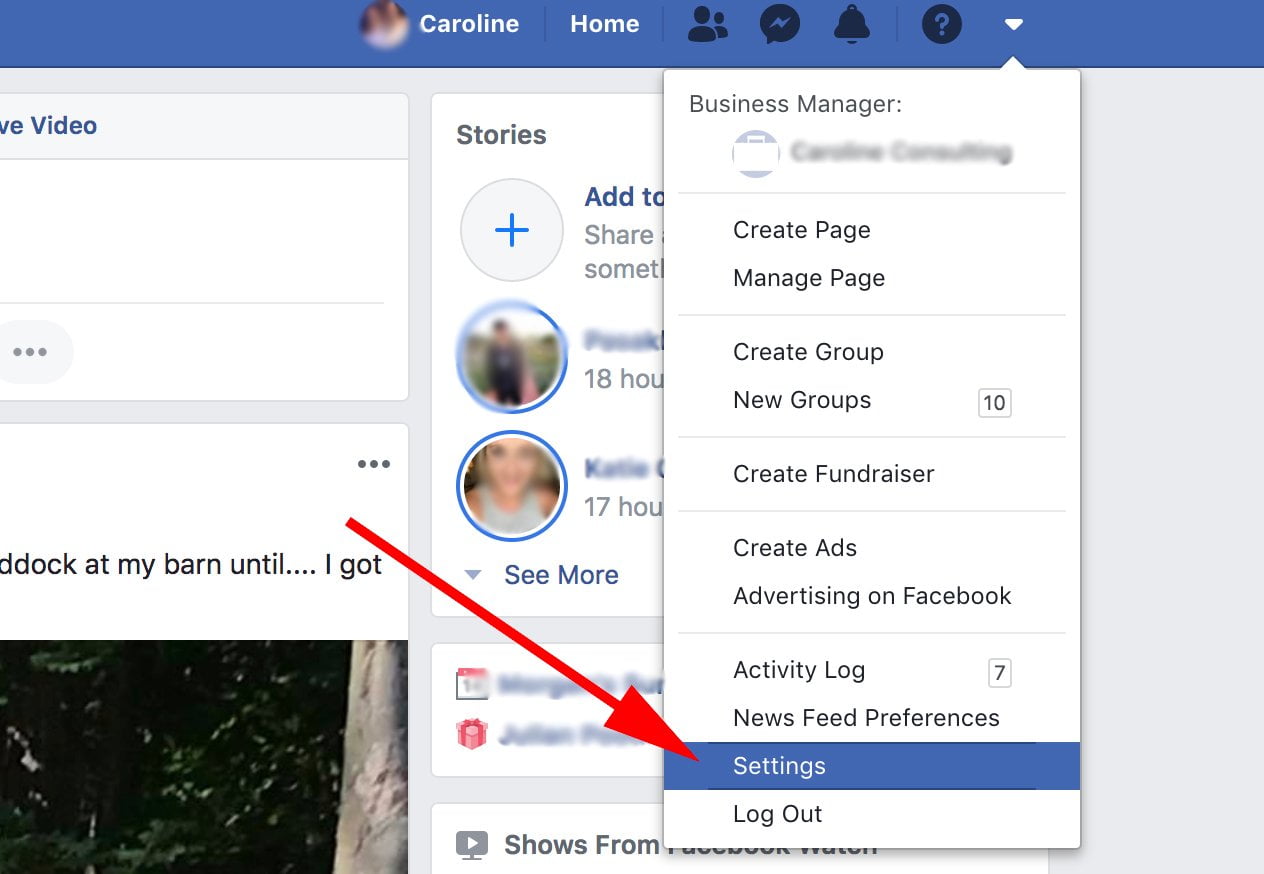
Facebook has a feature that allows you to create a personalized group for people who share similar interests. If you’re new to the site, you can start a group by clicking on the ‘Info’ button in your profile and selecting ‘Create a group’. Once you’ve done that, you can enter a group name. Read also : How to Know If Someone Blocked You on Facebook. Be sure to keep it simple and give a unique description of the group in the ‘Description’ area. This way, people can easily find your group when they are looking for a certain topic.
Creating a group on Facebook is free and requires no special knowledge or technical knowledge. Once you’ve created your group, you can add keywords and decide which topics will be most relevant to your group. The group name should also include the topic you’re creating the group around. The name you choose should be catchy and tell people what the group is all about. Lastly, you can choose to customize the privacy settings of the group.
Rules
There are many tips to consider when you’re deciding on Rules for creating a group on Facebook. Although the site already offers some generic rules, you can write additional rules to be used only by your group’s members. Add additional rules to the UNITS section of your group description, and make sure your rules are clear to your members. This may interest you : How to Make a Page on Facebook For Your Business. Facebook will then display the group’s rules to new members. Follow these tips to help you create a group that works for everyone.
Keep the tone of your group professional. Avoid using foul language or self-promotional posts. Those posting in this way will likely be removed from the group and will cause the community to deteriorate. In addition, avoid advertising products and services. These practices not only violate community rules, but also annoy group members. If you’re unsure of the language to use, make sure you use English language, as this will ensure that everyone is understanding and respecting one another.
Invite people to join
If you’ve set up a Facebook group and have invited people to join it, you will notice that the new members will be in a preview mode. While they will not be able to post or invite other people to the group, they will be able to see who else is in the group and what it is about. You can either manually send them an invitation or use a Chrome extension to send reminders.
You can also send an email invitation to people you want to join your group. The email will include the name of the group and a link to click to join. Remember that if the group is secret, you will have to approve the invitation to join. This is a good practice for any group. But make sure you do it carefully! If you don’t know how to send an email invitation, you could end up sending them an automated email instead of a personalized invite.
Post in group
If you have questions about how to post in a group on Facebook, you’ve come to the right place. Read on to learn how to post to a group on Facebook with Postcron. This authorized third-party App will allow you to post to as many groups as you like in a single click. To use Postcron, you’ll need to connect two Facebook accounts. Once connected, you can add any number of groups to your list.
Posting to a group on Facebook is similar to posting anywhere else on the platform. Once you create a group, you’ll want to promote it. You can do this by posting a pinned post or a group description. A pinned post is a regular post that the group admin fixes to the top of the group. A pinned post will help people who are not aware of it see it first.


